Easy Unit Plan Ideas: Home Decor & Organization
Creating a unit plan is the secret weapon against that overwhelming feeling of “stuff everywhere!” Does your living room often feel like a landing strip for mail, keys, and the kids’ latest creations? Does your kitchen counter become a dumping ground for things that don’t quite belong anywhere? You’re not alone! Imagine a home where everything has its place, a calm sanctuary that feels instantly more organized and inviting. This isn’t a far-off dream; it’s achievable with a simple, structured approach. For just a few hours of your time and a minimal investment in some basic supplies, you can transform your space.
In this article, I’ll walk you through exactly how to create your very own unit plan. We’ll cover how to assess your current clutter, how to designate specific zones for different items, and simple strategies to maintain your newly organized haven. Get ready to say goodbye to chaos and hello to a beautifully functional home!
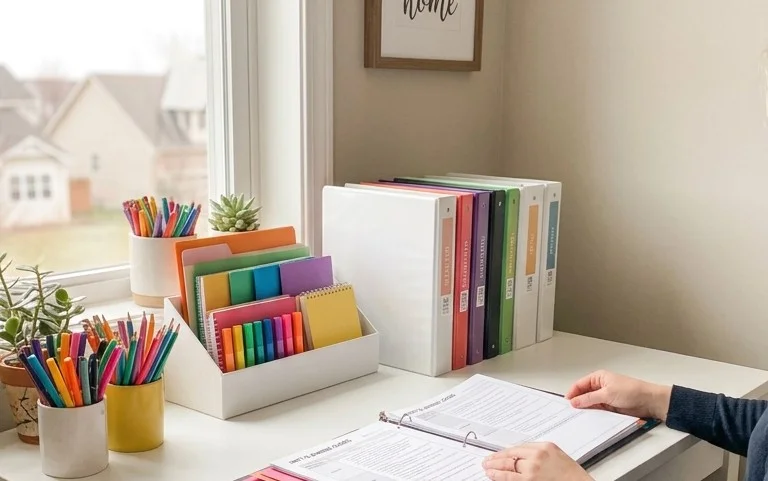
Crafting Your Dream Unit Plan: A Step-by-Step Guide to Organized Bliss
As a home enthusiast and organization devotee, I’m always on the hunt for ways to make spaces both beautiful and functional. Today, I want to talk about a game-changer for achieving this: creating a unit plan. Think of it as your personal roadmap to a perfectly organized and aesthetically pleasing area, whether it’s a wall of bookshelves, a media console, or even a dedicated craft corner. It’s not just about stuffing things onto shelves; it’s about intention, flow, and creating a system that works for *you*.
What You’ll Need and Roughly What It Costs
Before we dive into the planning, let’s get a handle on what you might need and the investment involved. The beauty of a unit plan is that it’s adaptable, so costs can vary wildly.
For the core structure, you’ll likely be looking at modular shelving units. Brands like IKEA (think KALLAX or BILLY), Wayfair, or even local furniture stores offer a wide range, from basic cubes to more elaborate shelving systems.
* **Modular Shelving Units:** Prices can range from $50 for a small two-cube unit to $500+ for a large, multi-section system. For a good mid-range setup, budgeting around $200-$400 is a reasonable starting point.
* **Storage Bins and Boxes:** These are your organizational workhorses. You’ll need a mix of open bins for frequently accessed items and lidded boxes for things you want to conceal. Expect to spend $5-$30 per bin, depending on material and size. Let’s estimate $50-$150 for a good selection.
* **Drawer Inserts and Dividers:** These are fantastic for keeping smaller items in check. Prices are usually $10-$40 per set. Budget around $20-$50.
* **Decorative Items:** This is where you bring your personality in! Think plants, picture frames, art pieces, decorative bowls. These can range from a few dollars to hundreds. Let’s allocate $50-$100 for a starting point.
* **Tools (if necessary):** A tape measure, a level, a pencil, and maybe a screwdriver or drill if you’re assembling units. Most assembly tools are included, but having a good tape measure ($10-$20) is essential.
So, for a decent-sized unit plan, you’re probably looking at a total investment between $330 and $720. Remember, you can always start smaller and build up!
Measuring and Planning Before You Start
This is arguably the most crucial step, and it’s where many people rush. Take your time here, and the rest will fall into place.
First, **assess your space**. Where will this unit plan live? Is it a blank wall, a corner, or part of a larger room?
* **Measure the Area:** Using your trusty tape measure, get the exact dimensions of the space you have available. Measure the width, height, and depth. Don’t forget to account for any radiators, windows, doors, or electrical outlets that might interfere. For example, if you have a wall space of 8 feet wide by 7 feet tall, write that down!
* **Consider the Function:** What do you *need* this unit plan to do? Is it for book storage, displaying collectibles, housing your media equipment, or a combination? Think about the *types* and *quantities* of items you want to store. Do you have a lot of books? Do you have a collection of vinyl records? This will influence the shelf heights and depths you need.
* **Visualize Flow:** How will you interact with this unit? Will you be reaching for things daily, or will it house items for less frequent use? Ensure there’s enough clearance for doors to open and for you to comfortably move around in front of it. If it’s a high-traffic area, avoid overcrowding.
Your Unit Plan: A Clear Walkthrough
Now that you’ve done your homework, let’s get planning! Here’s my foolproof, numbered process:
1. **Sketch It Out:** Grab some graph paper (or even just a plain piece of paper) and a pencil. Draw a rough outline of your available space to scale. This will be your canvas.
2. **Place Your Core Structure:** Based on your measurements, draw in the basic shape of your chosen shelving unit(s). If you’re using modular units, sketch them out in their intended configuration. For our 8-foot wide wall, maybe you’re envisioning a 4-foot wide unit on either side of a central media console.
3. **Define Zones:** Mentally (or by sketching) divide your unit into functional zones. For instance, the top shelves might be for decorative items and frequently accessed books. The middle shelves could house media components or larger books. The bottom might be for bins of less frequently used items.
4. **Allocate Specific Items:** Now, get specific.
* For books, note down the average height and depth.
* For media equipment, measure the dimensions of your TV, soundbar, game consoles, etc.
* For decorative items, think about the size of your picture frames and vases.
* For bins, determine the approximate dimensions you’ll need.
5. **Determine Shelf Heights and Depths:** This is where your measurements come in handy. Adjust the shelving within your unit to accommodate these items. Most modular units have adjustable shelves, or you can choose units with fixed shelves that suit your needs. For example, for our media unit, we might need a shelf that’s at least 18 inches high for a soundbar, and another that’s 12 inches high for gaming consoles.
6. **Plan Your Storage Solutions:** Decide which bins, boxes, and drawer inserts will go where. For our 8-foot wall unit, perhaps the bottom two cubes on each side will be perfect for large fabric bins holding blankets and board games.
7. **Add Decorative Touches:** Plan where your plants, picture frames, and other decorative elements will go. These often work best on higher shelves or as accents interspersed with functional items.
8. **Review and Refine:** Look at your sketch. Does it feel balanced? Is it easy to access everything? Does it meet all your functional needs? Make any necessary adjustments.
Adapting for Small Spaces or Rentals
The beauty of a unit plan is its versatility, even when you have limitations.
* **Small Spaces:** In a compact apartment, think vertically. Stacked shelving units or wall-mounted shelves can maximize space without eating up precious floor area. Opt for slimmer, taller units. Utilize every nook and cranny! Consider units with integrated drawers or cabinets to hide clutter.
* **Rentals (No Drilling Allowed):** This is where freestanding, modular units are your best friend. Look for units that are sturdy and can be anchored to the wall for safety, even if you’re not drilling into the wall itself. Many units come with anti-tip hardware that can be secured to existing furniture or baseboards. Tension rod shelves can also be a lifesaver for creating extra storage in cabinets or closets without any permanent modifications.
Styling Notes: Making It Look Good
Organization doesn’t mean sacrificing style! Here’s how to make your unit plan a statement piece:
* **Colour Palette:** Stick to a cohesive colour scheme. If your room has a dominant colour, echo that in your bins, boxes, and decorative items. Neutrals like white, grey, black, or natural wood tones create a calming and sophisticated look. If you want a pop of colour, use it sparingly in accessories.
* **Texture Play:** Mix and match textures to add depth and interest. Combine smooth ceramic vases with rough-woven baskets, sleek metal frames with soft textiles. This prevents the unit from looking flat and boring.
* **What to Put Where:**
* **Eye-Level Shelves:** These are prime real estate for your most visually appealing items – your favourite books (arranged artfully!), framed photos, a small plant, or a curated collection of objects.
* **Higher Shelves:** Reserve these for less frequently accessed items or things you want to keep out of reach of children or pets. Think seasonal decor, extra blankets, or archives.
* **Lower Shelves:** Ideal for heavier items or things you need easy access to. This is where bins, baskets, and often media equipment live.
* **The “Rule of Three”:** When displaying decorative items, try grouping them in threes. This creates a pleasing visual balance.
* **Vary Heights and Shapes:** Don’t line everything up in a rigid row. Vary the heights of your books and decorative objects to create visual rhythm.
Keeping It Tidy After Week One
The real test of any organization system is its longevity. Here’s how to maintain your unit plan’s pristine look:
* **The “One In, One Out” Rule:** For every new item that comes in, an old one must go out. This prevents clutter from accumulating.
* **Daily Tidy Up (5 Minutes):** At the end of each day, take just 5 minutes to put things back where they belong. A quick sweep of the shelves, a straightening of books, and putting away stray items will make a huge difference.
* **Weekly Reset:** Dedicate 15-20 minutes each week for a more thorough tidy. Dust surfaces, organize any items that have migrated, and declutter anything that’s no longer needed.
* **Contain Everything:** Everything should have a designated home. If something doesn’t have a place, it will become clutter. Use those bins and boxes effectively!
Mistakes That Make This Fail
Even with the best intentions, some common pitfalls can derail your unit plan efforts.
* **Not Measuring Properly:** This is the number one killer. If your units don’t fit your space, or if your shelves aren’t the right height for your items, your whole plan is compromised.
* **Overcrowding:** Trying to cram too much onto your shelves will make it look messy and feel overwhelming. Less is often more. Embrace negative space.
* **No Defined Zones:** If everything is mixed together, it becomes a jumble. Having clear zones for different types of items makes it easier to find things and maintain order.
* **Ignoring Aesthetics:** If your unit looks like a storage locker, you’ll be less motivated to keep it tidy. Integrate decorative elements and consider the overall visual appeal.
* **Lack of Maintenance:** The biggest mistake is setting it up and then forgetting about it. Regular, small bursts of tidying are far more effective than infrequent, massive decluttering sessions.
* **Buying Too Much at Once:** It’s tempting to buy all the bins and baskets you *think* you’ll need. Instead, start with the essentials and purchase more as you go, once you truly understand your needs.
Creating a unit plan is an investment in your home’s functionality and beauty. With a little planning, creativity, and consistent effort, you can transform any space into an organized oasis that you’ll love. Happy planning!
Conclusion
Creating a thoughtful unit plan for your home decor and organization isn’t just about aesthetics; it’s about crafting a sanctuary that supports your daily life. Imagine the calm of knowing where everything belongs, the joy of a space that feels both beautiful and functional. This sense of order can truly transform your everyday experience.
Ready to start? Your smallest first step today could be as simple as clearing one drawer or shelf. For a different room, consider a quick refresh of your entryway with a stylish basket. On a tighter budget, focus on decluttering your kitchen counter. We invite you to explore even more inspiring ideas to help you cultivate your perfect home!
